This is Part 1 of a 2 part series on how I make my wood jewelry.
One of the things I love most about jewelry is the transformation of materials. In this How is it Made blog series I will take you behind the scenes of how I make my one of a kind wood jewelry.
My wood and polyurethane inlay technique is a product of experimenting with materials in my studio. I begin the process with wood sourced from other makers and industrial cut-offs from companies with responsible forestry practices to maximize sustainability.

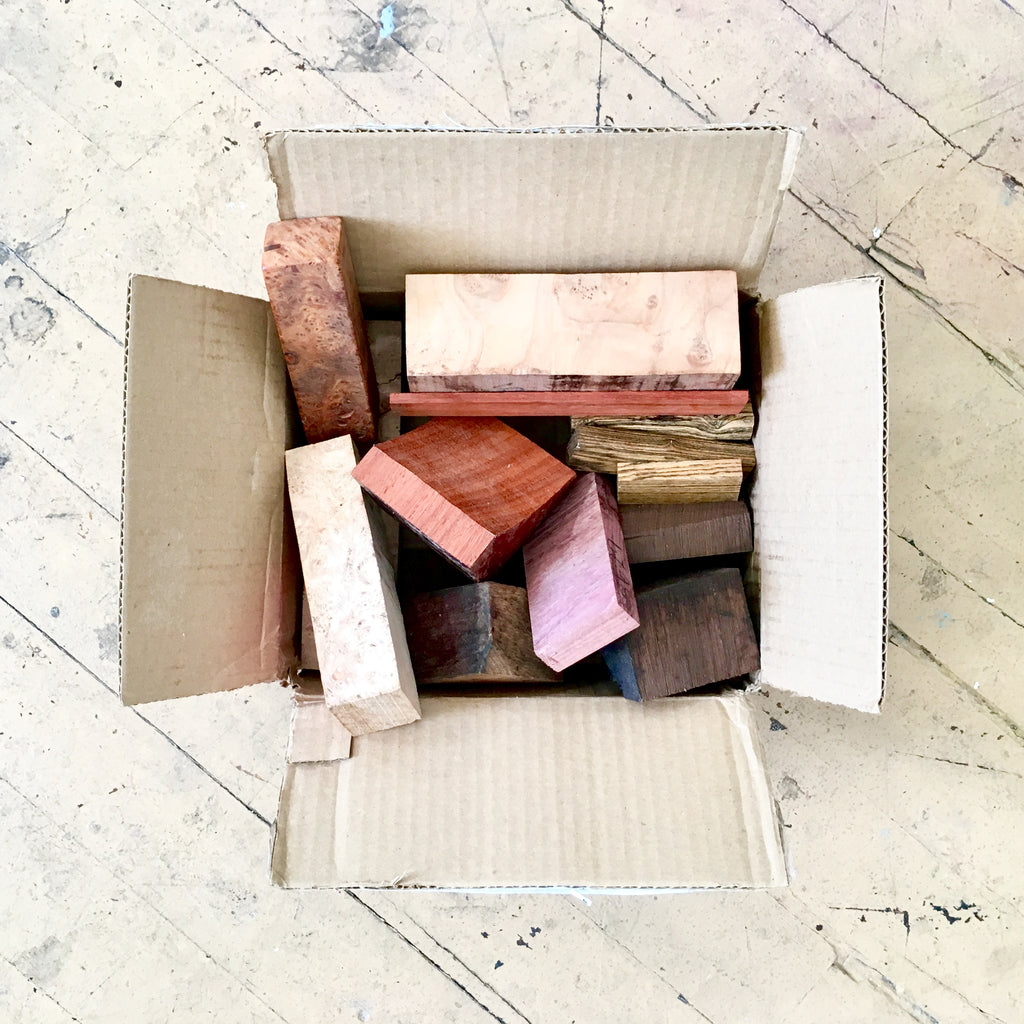
A box of cut-offs sent to me by another maker. I love the collaborative aspect of working with pieces that are byproducts of another maker’s craft.
Using my signature inlay process, I make the composite wood and polyurethane blocks. It is a layered process; I cut into the blocks, pour in the polyurethane, and then cure them together under pressure many times.

Cut blocks ready for the next color. I make molds around the pieces, and then pour in the polyurethane.
When designing, I often use the figuring in the wood as a jumping off point. The color palette evolves organically as I am making each piece, often to represent a landscape, place, or feeling. Each color I add can change the composition and feel of the piece dramatically so the wood and polyurethane blocks are constantly in flux as I am working on them.

Dyed polyurethane. I mix all of the colors into the polyurethane using only red, blue, yellow, and black dye.
It is a very labor intensive process, and it can take several days to a week to complete a batch of 10 blocks. When I feel the blocks are finished I square off the blocks using a band saw and disc sander.

Composite wood and polyurethane blocks that have been squared up, meaning the sides are parallel and meet at right angles.
Next, I begin the jewelry design process. Using oval templates positioned over the blocks, I try to find the best compositions. The possibilities are endless! Often I take photographs of multiple compositions to compare them side by side. When I have decided the final design, I trace the oval onto the block.

Using templates to find compositions. The larger templates are designed with photoshop and glued to cardstock.
